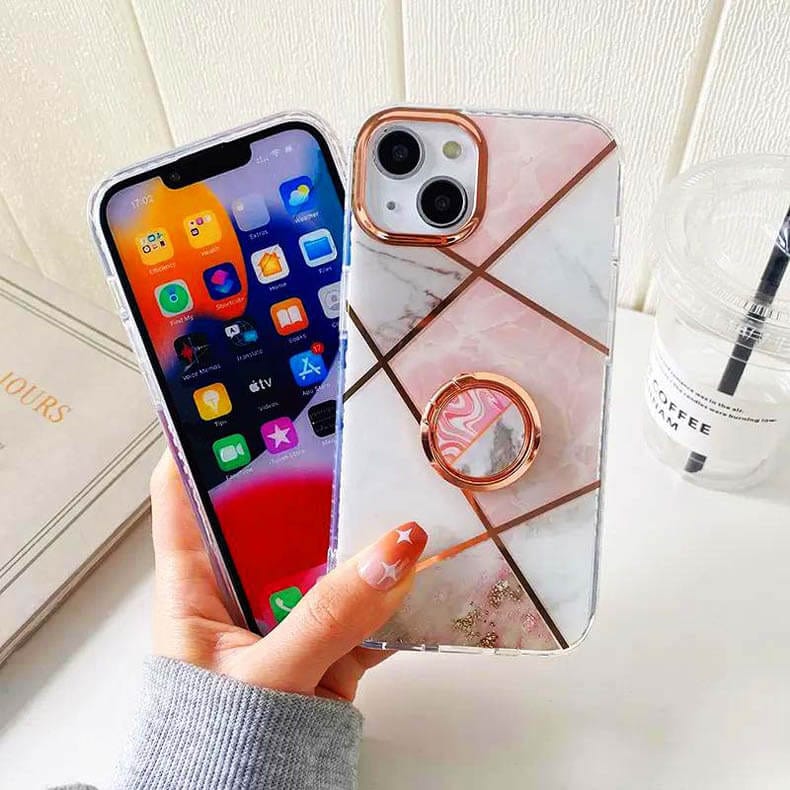
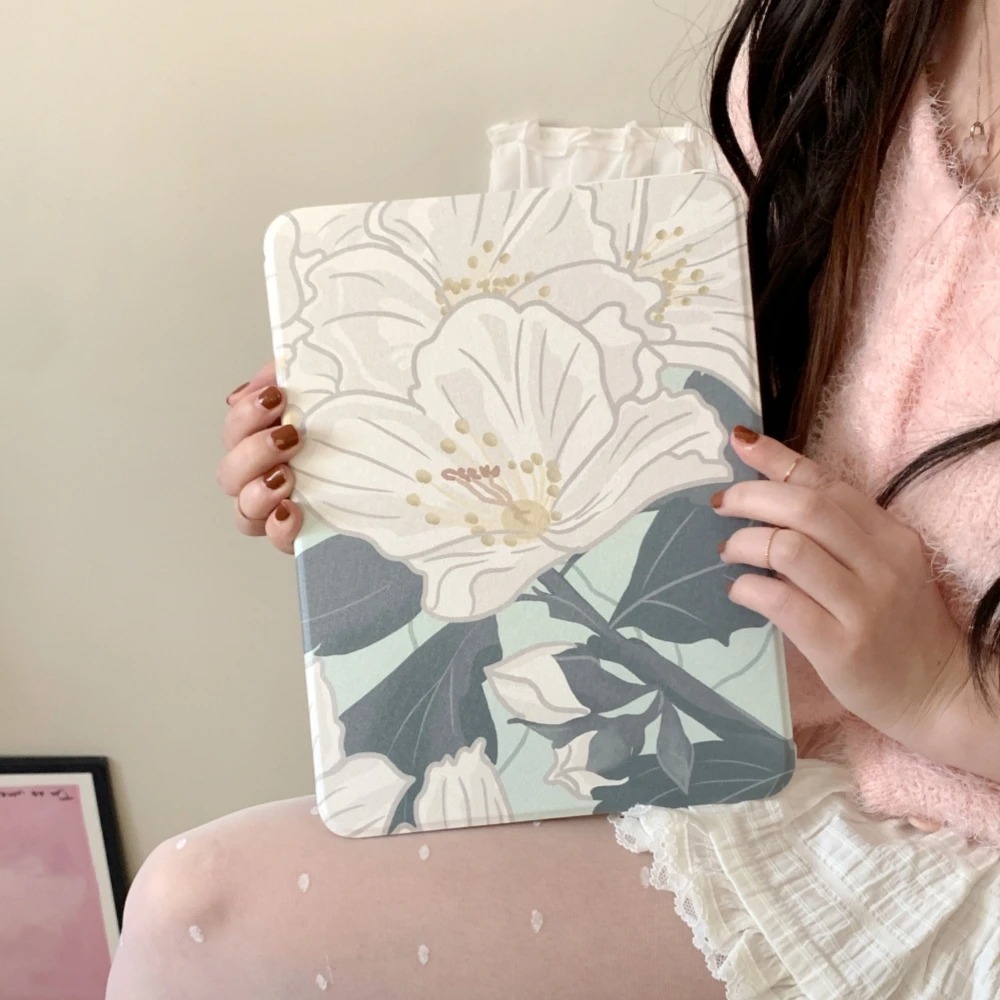
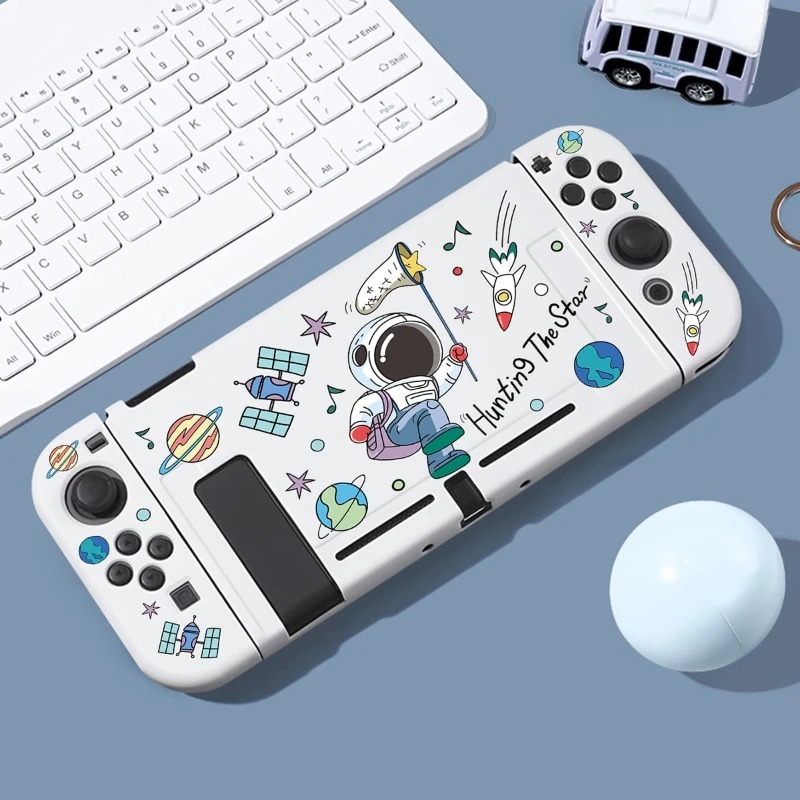
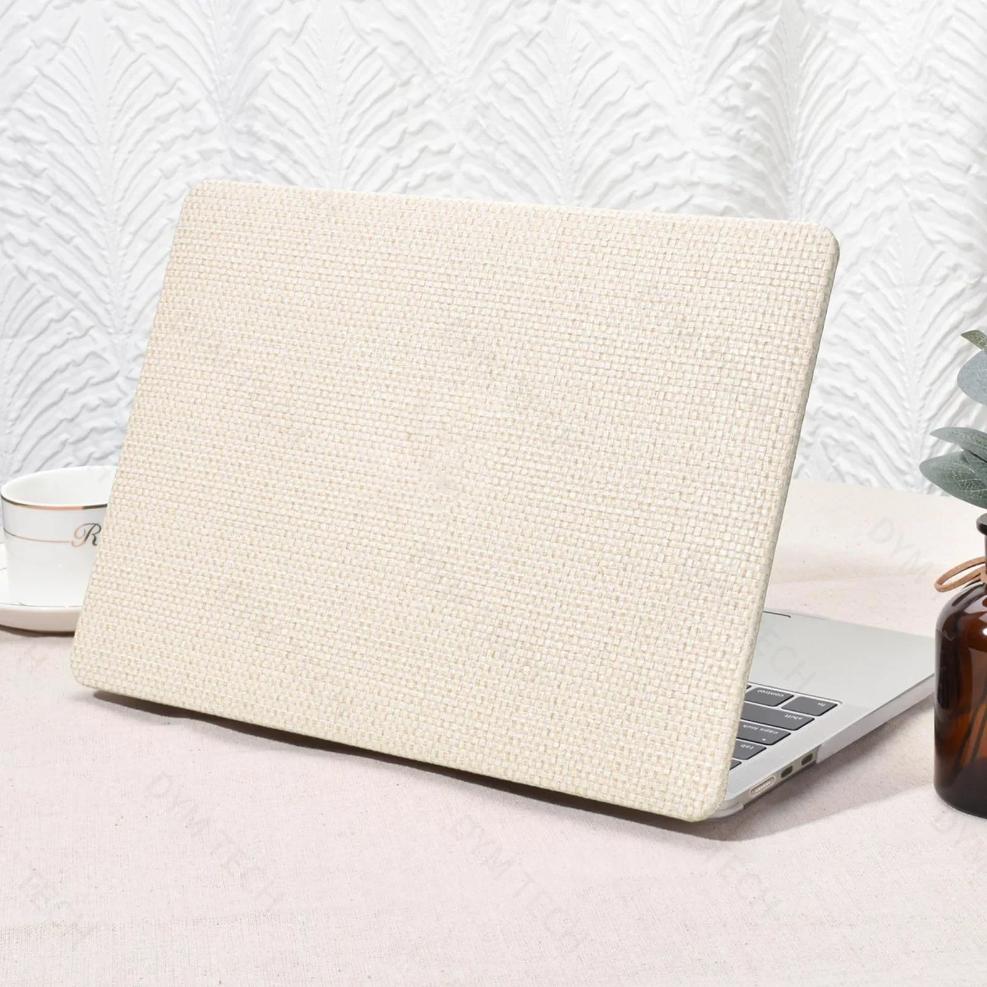
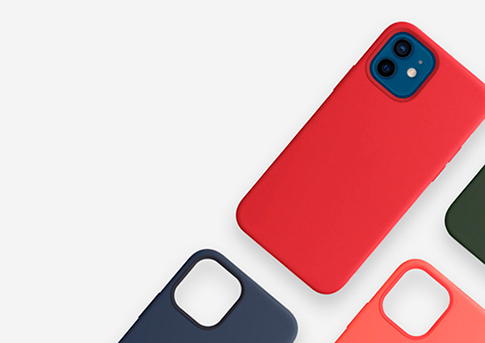
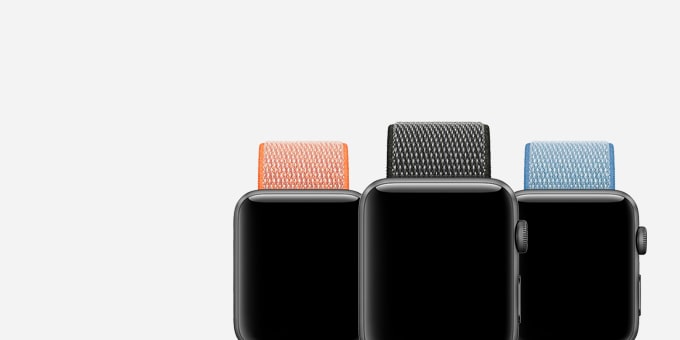
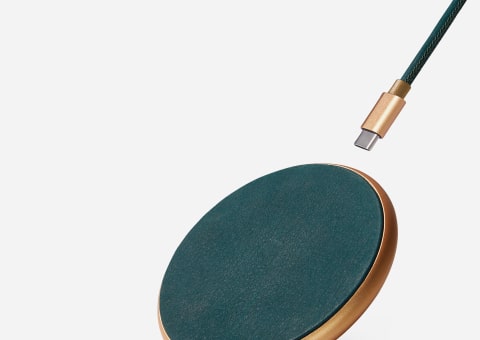
Elevate Your iPhone Experience Browse Through Our Diverse Range of iPhone Cases, Crafted to Reflect Your Unique Style and Guard Your Device with Precision To shop Read more Fashion, Innovation, and Protection Collide Immerse Yourself in Our Curated Selection of Smartphone Cases, Engineered to Safeguard Your Device in Style. To shop Read more Upgrade Your Mobile Experience Unleash the Power of Personalization with Our Diverse Smartphone Accessories Collection To shop Read more iPhone Cases 0 products Airpods Cases 0 products iPad Cases 0 products Nintendo Switch Cases 0 products Samsung Cases 0 products Macbook Cases 0 products Hurry up to buy Elevate Your Gadget Experience Browse Through Our Diverse Range of Gadget Cases and Accessories All Prooducts iPhone Cases Earphone Cases Accessories We Provide High Quality Gadget Case and Accessories Elevate Your Tech Game with Trendy Designs and Premium Quality. Shop Now for the Ultimate Fusion of Fashion and Functionality at Tweggo Fast Delivery We ship to over 200 countries and regions. Best Quality All things about gadget case, all in one place. Free Return Your satisfaction is our #1 priority. Something completely new Cases for Phone TO SHOP Accessories for watch Straps of Any Color TO SHOP Special offer Buy One and Get 50% Off the Second READ MORE Try something completely Charger Discount BUY NOW Most Popular Products Discover Our Most Coveted Gadget Cases and Accessories That Everyone's Raving About! Tweggo Blog Explore Our Blog for Insider Insights, Stylish Tips, and Must-Have Recommendations on iPhone Cases, Smartphone Covers, and Phone Accessories 09 Sep Decoration Exploring Atlanta’s modern homes September 9, 2022 Posted by admin 0 comments 09 Sep Inspiration Green interior design inspiration September 9, 2022 Posted by admin 0 comments 09 Sep Furniture Collar brings back coffee brewing ritual September 9, 2022 Posted by admin 0 comments 09 Sep Design trends Reinterprets the classic bookshelf September 9, 2022 Posted by admin 0 comments 09 Sep Decoration Creative water features and exterior September 9, 2022 Posted by admin 0 comments 6665 262 2848 367 8528 25 3846 372 1142 189 9074 598 9846 763 5934 559
09 Sep Furniture Collar brings back coffee brewing ritual September 9, 2022 Posted by admin 0 comments